Bootstrap Checkbox HTML
Overview
In certain cases the simplest aspects might actually become pretty required-- especially each time you get to need them. For instance precisely how do your visitors communicate with the web pages you build stating a basic Boolean act-- just yes or no referring to a number of the issues you need to ask, how they do confirm the conditions and terms or line up a few of the feasible choices they might have. We usually surpass this without paying very much of an consideration to the component accountable for such actions but the Bootstrap Checkbox Style is actually a really serious element-- one our forms can not really perform without.
Within the latest fourth edition of the Bootstrap platform we are supplied with the
.form-check.form-check-label<div>.form-check.form-check-label<label><input>.form-check-inputEfficient ways to make use of the Bootstrap checkbox:
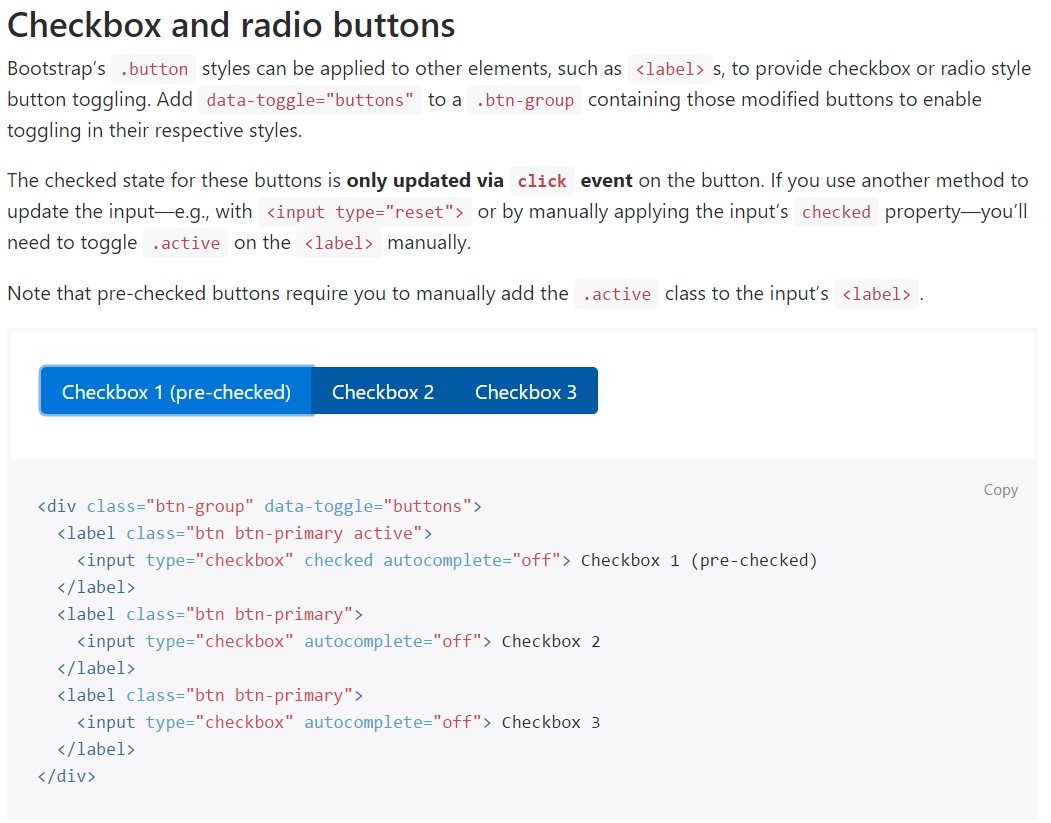
The checked state for these buttons is only updated via click event on the button.

<div class="btn-group" data-toggle="buttons">
  <label class="btn btn-primary active">
    <input type="checkbox" checked autocomplete="off"> Checkbox 1 (pre-checked)
  </label>
  <label class="btn btn-primary">
    <input type="checkbox" autocomplete="off"> Checkbox 2
  </label>
  <label class="btn btn-primary">
    <input type="checkbox" autocomplete="off"> Checkbox 3
  </label>
</div>
From time to time we require the checkboxes to be within our forms without the user actually being able to bring any sort of practice clicking them-- that's where exactly the disabled option shows up.
If you want to disable effectively a checkbox in Bootstrap 4 applying the standard HTML attribute
disabledIn the case that you appreciate the suggestion and really would like to execute this you need to specify the
.disabled.form-checkA different case
When employing checkboxes, wrap them in a
<label>.custom-control.custom-checkboxUtilize
.custom-control-input<input>In addition use two
<span>.custom-control-indicator.custom-control-description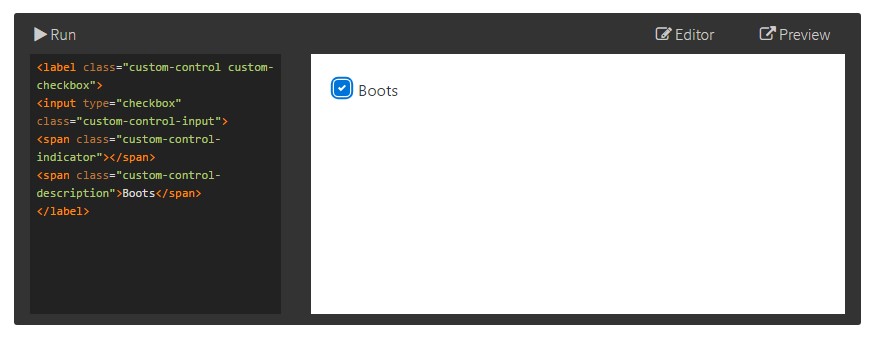
<label class="custom-control custom-checkbox">
<input type="checkbox" class="custom-control-input">
<span class="custom-control-indicator"></span>
<span class="custom-control-description">Boots</span>
</label>
Bootstrap Checkbox Input forms
Default checkboxes and radios are developed upon with the help of
.form-checkDisabled checkboxes and radios are provided, still, to give a
not-allowed<label>.disabled.form-checkA fresh thing for the Bootstrap version 4 system is the release of the so called custom form features. These are the identical elements we are known within usefulness yet designated even more eye-catching and with the Bootstrap means. Using them you can surely bring in fascinating spice and personality to your content through just assigning a few extra classes to the controls you include in your forms.
If you want to employ custom checkboxes wrap them inside a
<label>.custom-control.custom-checkbox<input>.custom-control-input<span>.custom-control-indicator.custom-control-descriptionConclusions
That's mostly all you have to do in order to bring in a checkbox element for your Bootstrap 4 powered websites and incorporate a number of custom flavor to it adding in it a beautiful appeals. Right now everything you have to do is repeat the drill until you have actually examined all the checkboxes desired are actually on the web page.
Check out some video clip guide regarding Bootstrap checkbox
Linked topics:
Bootstrap checkbox main records
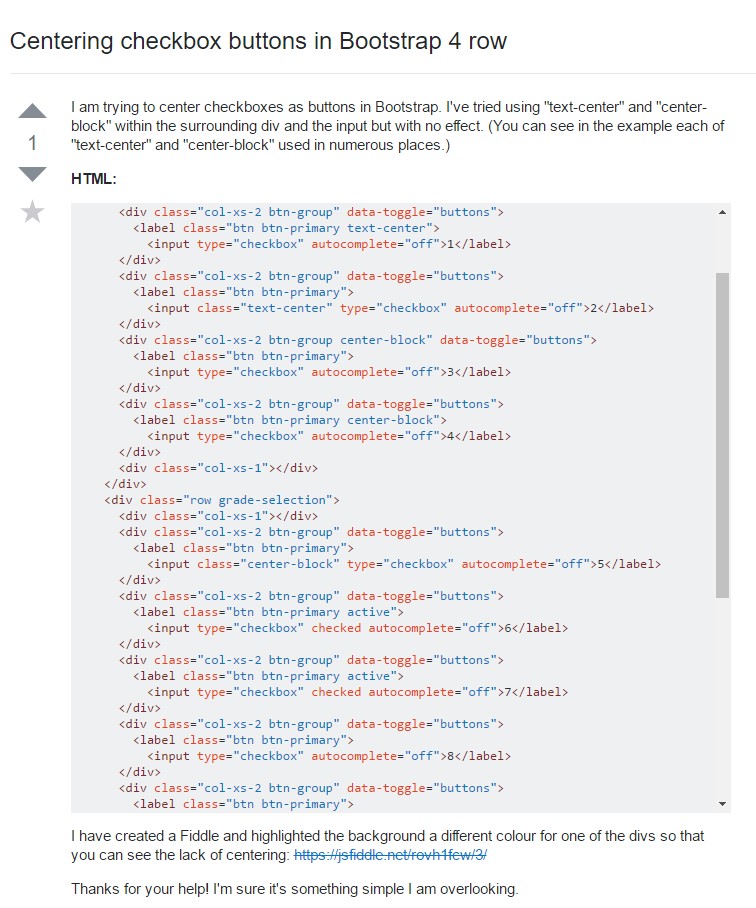
Centering checkbox buttons in Bootstrap 4 row
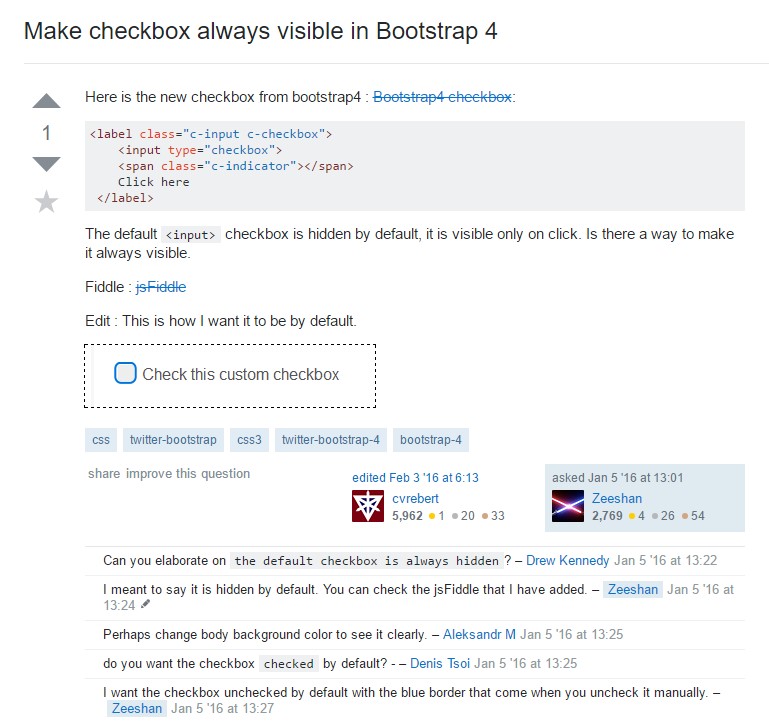
Make checkbox always visible in Bootstrap 4